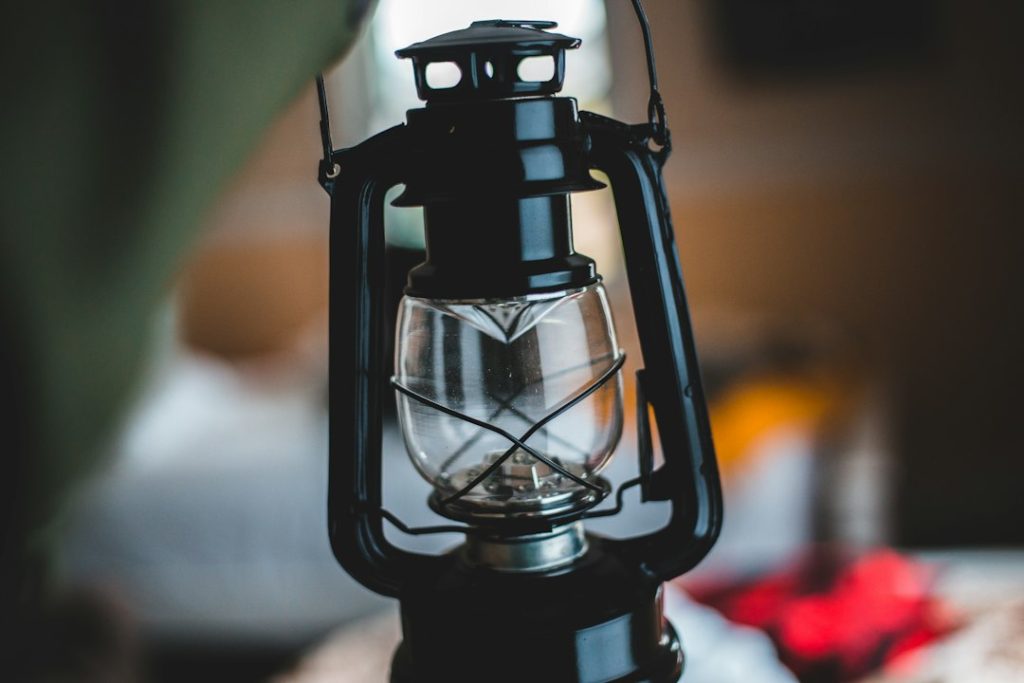
Camping Lantern Issues & Easy DIY Repairs for Common Problems
When your camping lantern decides to act up in the middle of nowhere, it can definitely put a damper on things. The good news is, many common lantern issues aren’t complex engineering failures but rather simple hitches you can often fix yourself with a bit of know-how and some basic tools. No need to immediately toss it and buy a new one; let’s dive into some easy DIY repairs that can get your trusty light source glowing again.
Understanding Your Lantern: A Quick Anatomy Lesson
Before you start poking around, it’s helpful to understand the basic components that make your lantern tick, regardless of whether it’s battery-powered LED or a fuel-based classic. This isn’t about becoming an electrical engineer or a fuel-combustion expert, but rather knowing what’s what so you can better diagnose a problem.
Battery-Powered LED Lanterns
These are generally simpler in design, making them easier to troubleshoot. Key components include:
- Battery Compartment: Holds the batteries (AA, AAA, D, or sometimes a rechargeable lithium-ion pack). This is a common point of failure due to corrosion or loose connections.
- Battery Contacts: Metal springs or plates that touch the battery terminals to complete the circuit. These are prime candidates for dirt, corrosion, or bending.
- LED Board/Module: The circuit board with the actual Light Emitting Diodes. While LEDs themselves rarely fail, their connections to the board can.
- Switch: The mechanism that turns the lantern on and off, often with different brightness settings. These can get dirty or wear out.
- Housing/Lens: The outer shell and the clear cover that protects the LEDs and diffuses the light.
Fuel-Based Lanterns (Propane, Kerosene, White Gas)
These are a bit more intricate due to the combustion process, but many issues are still quite manageable. Core parts include:
- Fuel Tank/Canister Connection: Where the fuel source attaches to the lantern. Leaks or blockages here are common.
- Generator/Vaporizer: Heats the liquid fuel to turn it into a gas for combustion. Can get clogged.
- Valve Assembly: Controls the flow of fuel.
- Mantles: Fragile fabric pouches that incandesce (glow) when heated by the burning fuel. They burn out or tear easily.
- Burner Tube/Assembly: Where the fuel mixes with air and ignites, heating the mantles.
- Pump/Check Valve (for pressurized lanterns): Used to pressurize the fuel tank for consistent fuel flow. Can stick or leak.
- Globe/Ventilator: The glass cover protecting the mantles and the metal cap above the burner.
Common LED Lantern Headaches and Simple Fixes
LED lanterns are generally low-maintenance, but when they do fail, it’s often something straightforward. Don’t immediately assume the worst.
Dim or Flickering Light
This is a classic sign of trouble, but usually easily remedied.
- Weak Batteries: The most common culprit. Even if they “kind of” work, dimming or flickering often means they’re on their last legs.
- DIY Fix: Replace all batteries with fresh ones. If using rechargeable, ensure they are fully charged. Always use the specified battery type.
- Corroded Battery Contacts: Battery acid can leak and create a crusty residue on the metal contacts, preventing proper electrical flow.
- DIY Fix: Open the battery compartment. If you see white, green, or blue crusty stuff, that’s corrosion. Carefully remove the batteries (wear gloves if significant corrosion is present). Use a small, stiff brush (like an old toothbrush) or a pencil eraser to gently scrub the corrosion off the metal contacts. For stubborn spots, a cotton swab dipped in white vinegar or lemon juice can help dissolve the corrosion, but ensure the contacts are completely dry before reinserting batteries. A small piece of fine-grit sandpaper (400-600 grit) can also be used very gently.
- Loose Connections: Sometimes the contacts just aren’t making good contact with the batteries, or wires internally have wiggled loose.
- DIY Fix: After cleaning, slightly bend the battery contacts (springs or plates) outwards to ensure a tighter connection with the battery terminals. If you’re comfortable and the design allows (often requires unscrewing the base), check for any obviously loose wires connecting to the LED board or switch. This usually involves soldering, which might be beyond a quick field fix, but sometimes a visual inspection reveals a simple wire that just needs to be pushed back into place or wrapped more securely.
Lantern Won’t Turn On At All
A dead lantern is frustrating, but often just an extension of the dim/flickering issues.
- Completely Dead Batteries: Obvious, but worth checking first.
- DIY Fix: Replace with new, verified working batteries.
- Severely Corroded Battery Contacts: If the corrosion is extensive, it can completely block the circuit.
- DIY Fix: Thoroughly clean as described above. If the corrosion has eaten away at the metal, the contact might need to be replaced, which is a more advanced repair.
- Faulty Switch: The switch itself can fail, especially if it’s exposed to dirt or moisture.
- DIY Fix: First, try pressing the switch firmly several times, wiggling it slightly. Sometimes dirt or dust gets trapped. If you can access the switch (usually by opening the lantern housing), you might try cleaning around it with compressed air or a contact cleaner spray (specifically for electronics). If the switch physically feels broken or mushy, it likely needs replacement, which involves desoldering and soldering a new one – definitely more involved than a simple DIY.
- Broken Wire Inside: Less common for general use, but impacts or drops can sometimes sever an internal wire connection.
- DIY Fix: This requires opening the lantern, identifying the broken wire, and soldering it back together. If you’re not comfortable with soldering, this might be a job for a repair shop or a new lantern.
Fuel Lantern Quandaries and Practical Solutions
Fuel lanterns, with their heat and moving parts, have a different set of common problems. Safety first with fuel! Always ensure the lantern is cool and depressurized before working on it.
Mantle Issues: The Glowing Heart of the Lantern
Mantles are incredibly fragile and key to light production.
- Torn or Broken Mantle: If your lantern was bumped or jostled, or if the mantle was old, it can easily tear. A torn mantle will produce very little light and an uneven flame.
- DIY Fix: Carefully remove the ventilator and glass globe. Gently unclip or untie the old mantle. Attach a new mantle according to the manufacturer’s instructions (usually by tying it onto the burner tube). “Burn-in” the new mantle: without the globe, light the mantle (using a match or lighter, keeping fingers clear) until it completely turns to ash and then glows white. This typically takes a minute or two. Once it glows, turn off the lantern, let it cool, then replace the globe and ventilator. Always carry spare mantles!
- Mantle Not Incandescing (Burning but not glowing brightly): This usually means fuel isn’t reaching the mantle correctly or there’s insufficient air.
- DIY Fix (for pressurized lanterns): Ensure the fuel tank is adequately pressurized. Pump it up more if needed. Check that the generator is properly installed and not visibly clogged. If it’s a white gas lantern, try using a generator cleaning wire (often stored in the lantern base) to clear any carbon buildup.
Fuel Flow and Ignition Troubles
If fuel isn’t getting where it needs to go, or isn’t igniting, you’re left in the dark.
- Lantern Puts Out No Light (or a weak, yellow flame): This often points to a fuel delivery problem or a clogged generator.
- DIY Fix (for pressurized lanterns): First, check the fuel level. Is there enough fuel? Is it the correct type of fuel? Second, ensure the tank is sufficiently pressurized – pump it 20-30 times. If the flame is yellow and sputtering, it’s often a sign of a partially clogged generator. You might try cleaning the generator with the built-in cleaning mechanism (if present, usually a knob you turn) or using a dedicated generator cleaning wire. Replacing the generator is a more involved but often necessary fix for persistent clogging.
- DIY Fix (for propane lanterns): Ensure the propane cylinder has gas and is securely screwed onto the lantern. If the lantern has an igniter button and it’s not sparking, check the igniter wire and tip for dirt or corrosion and clean it. You can always use a long lighter or match to manually light the mantle.
- Fuel Leaks: Any fuel leak is a serious safety hazard and should be addressed immediately.
- DIY Fix: Turn off the lantern and disconnect the fuel source. Visually inspect all connections: the fuel tank cap, the fuel line connections, and the generator. Often, leaks occur at seals or O-rings that have dried out or cracked. For fuel tank caps, ensure it’s tightly screwed on. If it continues to leak, the rubber gasket inside the cap might need replacement. For connections to fuel canisters, ensure they are finger-tight and the O-ring is present and not cracked. A small amount of petroleum jelly or silicone grease can sometimes rejuvenate a dry O-ring temporarily, but replacement is best. Never use a leaking fuel lantern.
Pumping Problems (for Pressurized Fuel Lanterns)
If your pump isn’t building pressure, the lantern won’t work.
- Pump Plunger Doesn’t Build Pressure: This is usually due to a dry or worn pump cup.
- DIY Fix: Unscrew and remove the pump assembly. At the end of the plunger rod, you’ll see a leather or rubber “pump cup.” If it’s leather, it needs to be lubricated to create a good seal. Apply a few drops of Neatsfoot oil, mineral oil, or even cooking oil (in a pinch) to the pump cup. Work it in, and then try pumping again. If the pump cup is cracked or severely worn (especially rubber ones), it will need to be replaced. Ensure the check valve at the bottom of the pump assembly isn’t stuck closed or leaking (you can test this by trying to pull the pump out while it’s depressed – if it slides out easily, the check valve is likely faulty). Cleaning the check valve with a small amount of carburetor cleaner can sometimes free it.
Essential Tools for On-the-Go Repairs
You don’t need a full workshop, but a small kit can save your trip.
The “Must-Haves”
- Spare Batteries/Fuel Canisters: Always, always have these.
- Spare Mantles (for fuel lanterns): At least two. They’re delicate.
- Small Screwdriver Set: Both flathead and Phillips head, in various small sizes. Good for battery compartments, housing screws, and internal adjustments. A multi-bit screwdriver is perfect.
- Pliers (Needle-Nose or Multi-Tool): Useful for bending battery contacts, gripping small parts, or tightening nuts.
- Small Stiff Brush/Old Toothbrush: For scrubbing corrosion.
- Cotton Swabs: For precise cleaning and applying solutions.
- White Vinegar or Lemon Juice: For dissolving battery corrosion.
- Paper Towels/Rags: For cleaning up.
“Nice-to-Haves” for More Advanced Field Repairs
- Neatsfoot Oil (for leather pump cups): Keeps those older lanterns running.
- Contact Cleaner (electronic safe): For switches and electrical contacts.
- Small Wire Brush/Fine-Grit Sandpaper: For stubborn corrosion.
- Electrical Tape: For temporary wire fixes, though not ideal for fuel lines.
- Gloves: Especially when dealing with battery corrosion or fuel.
- Generator Cleaning Wire (if not built-in): For fuel lanterns.
Preventive Maintenance: A Stitch in Time
Many problems can be avoided with a little forethought and care.
General Tips for All Lanterns
- Store Properly: Always store your lantern in a dry place. If it’s going into long-term storage, remove the batteries to prevent leakage and corrosion. For fuel lanterns, either drain the fuel completely or ensure the tank is full to minimize air and moisture buildup, and keep valves closed.
- Clean Regularly: Wipe down the exterior after each trip. For fuel lanterns, occasionally check the burner area for carbon buildup.
- Handle with Care: Lanterns aren’t designed to be tossed around. Protect them during transport.
Specifics for LED Lanterns
- Check Battery Seating: Before each trip, open the battery compartment and ensure batteries are seated firmly.
- Inspect Contacts: Every few trips, give the battery contacts a quick visual check for any signs of corrosion.
Specifics for Fuel Lanterns
- Inspect Mantles: Always check your mantles before and after transport. If they’re showing signs of wear or becoming brittle, replace them.
- Check Seals and Gaskets: Periodically inspect all O-rings and gaskets for cracks or dryness. Replace them if they look compromised.
- Use Fresh, Correct Fuel: Stale fuel can cause clogs. Always use the manufacturer-recommended fuel type.
- Lubricate Pump Cup: For pressurized lanterns, lubricate the pump cup a couple of times a year, or if you notice the pump getting stiff.
By understanding these common issues, having a basic repair kit, and performing some simple preventative maintenance, you can significantly extend the life of your camping lantern and avoid being left in the dark on your next outdoor adventure. Happy trails and bright lights!